Deterministic Physics in Unity
This tutorial covers deterministic physics in Unity using trajectories, velocities, and forces. If you ever wondered whether that crazy trickshot was possible (like some epic water pong move), you can simulate it first in Unity. That’s basically the concept of digital twins.
Tutorial
Let’s start super simple: an empty 3D Unity project.


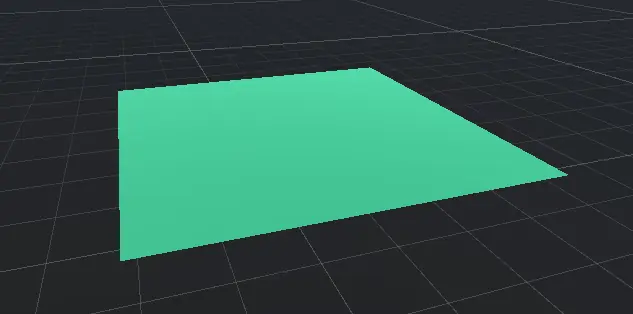
Now, let’s create a ground layer. In the Hierarchy, Right Click → 3D Object → Plane. Scale it bigger and add a material if you want. (To add a material: in Assets folder, Right Click → Create → Material, set an Albedo Color, then drag the material onto your plane.)
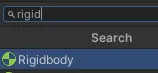
Next up, let’s add our physics ball: Right Click → 3D Object �→ Sphere. Then on the sphere’s properties (in the Inspector on the right), Add Component → search for Rigidbody. (Make sure it’s the 3D one, not 2D!)
If everything’s good, hit Play and you’ll see your ball fall down with gravity!

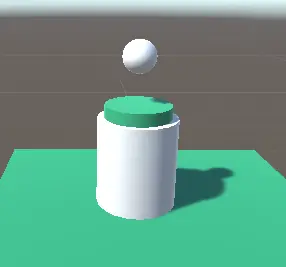
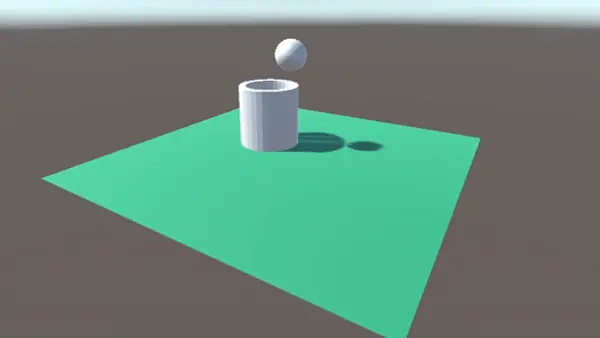
Now let’s give our ball somewhere to land, like a water pong cup or a mini-golf hole. Make sure you exit Play Mode (otherwise changes won’t stick).
Hierarchy: Right Click → 3D Object → Cylinder. Position and scale it so a ball could fit inside. You could also duplicate and scale for an inner cylinder if you want thickness. (Or color them for style!)
If you’re fancy, you might want to do a boolean operation to create a hollow cup shape. Unity doesn’t have the most direct built-in boolean tools, but you can try ProBuilder or CSG plugins, or just hop into Blender for two seconds and do it there.

For instance, in Blender, add two cylinders, scale one to be smaller (the hole), then do a boolean difference. Export as FBX, drop it in Unity, and voila—a custom cup. Make sure to add a Mesh Collider in Unity to let the ball bounce inside properly.
Let’s see how to push our ball with a certain velocity or force. For instance, create a new C# script trickshot.cs on the ball:
using System.Collections;
using System.Collections.Generic;
using UnityEngine;

public class trickshot : MonoBehaviour
{
    void Start()
    {
        // Just as a test, fling the ball forward on Z
        GetComponent<Rigidbody>().velocity = new Vector3(0, 0, 25.8f);
    }
}
Boom—press play, and the ball will yeet forward! Adjust the velocity vector to taste. If you want more control, you can do a “swipe-to-throw” approach:
using UnityEngine;

public class trickshot : MonoBehaviour
{
    bool isDragging = false;
    Vector2 origPosition;
    float time1 = 0f;

    void OnMouseDrag()
    {
        if(!isDragging)
        {
            isDragging = true;
            origPosition = Input.mousePosition;
            time1 = Time.time;
        }
    }

    void OnMouseUp()
    {
        isDragging = false;
        Vector2 newPosition = Input.mousePosition;
        float time2 = Time.time;

        Vector2 distance = origPosition - newPosition;
        float swipeVelocity = distance.magnitude / (time2 - time1);

        GetComponent<Rigidbody>().isKinematic = false;
        GetComponent<Rigidbody>().velocity = new Vector3(swipeVelocity * 0.01f, 0, 0);
    }
}
Now, dragging the ball in the Scene view (or Game view if you have gizmos set up for selection) and letting go will fling it, based on your swipe distance and speed. Tweak numbers as you like.
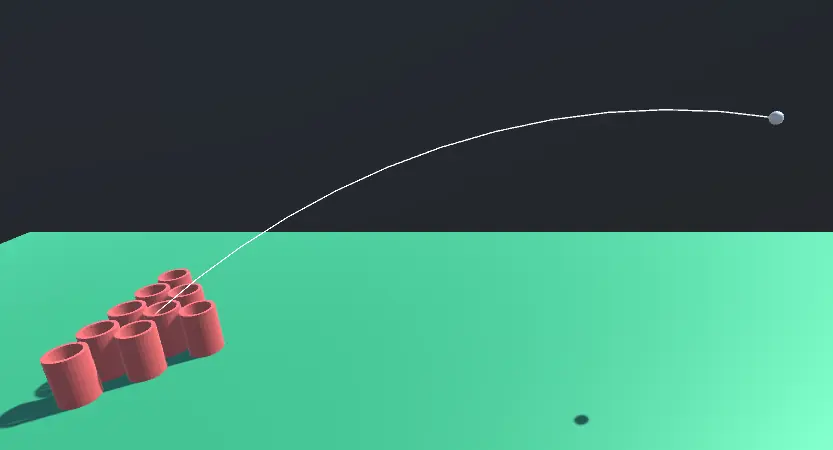
You might want a fancy trajectory arc to show where the ball’s gonna land. We can do that with a Line Renderer and some physics equations. Here’s a chunk of code you can adapt for a TrajectoryController:
using UnityEngine;

public class TrajectoryController : MonoBehaviour
{
    public LineRenderer line;
    [Range(2, 30)] public int resolution = 10;
    public Vector3 velocity;
    public float yLimit;
    private float gravity;

    void Start()
    {
        gravity = Mathf.Abs(Physics.gravity.y);
    }

    void Update()
    {
        RenderArc();
    }

    void RenderArc()
    {
        line.positionCount = resolution + 1;
        line.SetPositions(CalculateLineArray());
    }

    Vector3[] CalculateLineArray()
    {
        Vector3[] lineArray = new Vector3[resolution + 1];
        float maxT = MaxTimeY(); // or whichever approach you pick

        float step = maxT / resolution;
        for(int i = 0; i <= resolution; i++)
        {
            float t = step * i;
            lineArray[i] = CalculatePoint(t);
        }
        return lineArray;
    }

    Vector3 CalculatePoint(float t)
    {
        float x = velocity.x * t;
        float y = (velocity.y * t) - (0.5f * gravity * t * t);
        float z = velocity.z * t;
        return new Vector3(x + transform.position.x, y + transform.position.y, z + transform.position.z);
    }

    float MaxTimeY()
    {
        // figure out how long until we cross yLimit or land
        // for now, just do a rough approach
        return 5f;
    }
}
Then assign a Line Renderer in the Inspector to line, set “Use World Space” to true, and you’ll see a dotted arc in your scene representing the ball’s path. You can refine the math for better accuracy or add collision checks, etc.
Challenges
- Add spin or rotation based on the swipe direction and speed. (Apply torque in your script!)
- Real-time trajectory preview: as you drag, update the TrajectoryController velocity so you see where the ball would go before letting go.
- Fix the timing issue: if a user holds the ball for a long time, your velocity might end up zero. Maybe record the final bit of the swipe only, or handle time differently.
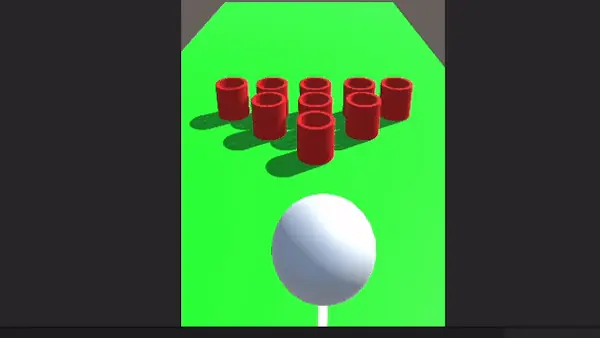
Enjoy messing around with 3D Physics! You can quickly expand on these basics to build mini-golf, basketball, or even a wacky Rube Goldberg–style contraption with bouncy collisions. Have fun out there!