Stable Diffusion in Unity
We're making cool scenes today. Screenshot-worthy. Maybe use Stable Diffusion and make it into an actual painting after you're done. :)

Introduction to Terrains
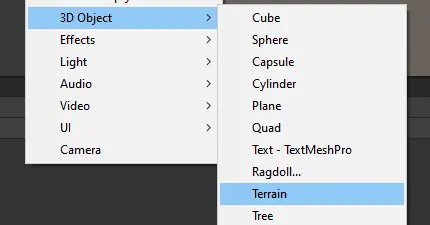
Let's start off by making a new Terrain.
It's gigantic. Yes! That's a good thing. Don't make it any smaller!
On the right are the Terrain tools.

You'll really only need to use the middle three: terrain, trees, and details. The names speak for themselves, but terrain modifies the relative elevation and height map of our area, trees is meant for large structures, usually trees, but can also be houses, watchtowers, Minecraft villages, etc. while details are meant for the tiny things like shrubs and flowers.
The paintbrush lets us "paint" our terrain with elevation, however hilly, jagged, or valley-like you want.

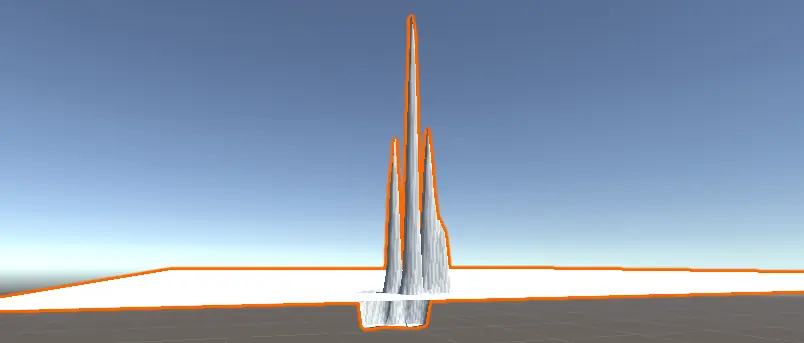
If you're interested in the technology behind this, we're technically just using different shades of white on a height map, so the actual "terrain file" we're painting looks more like:
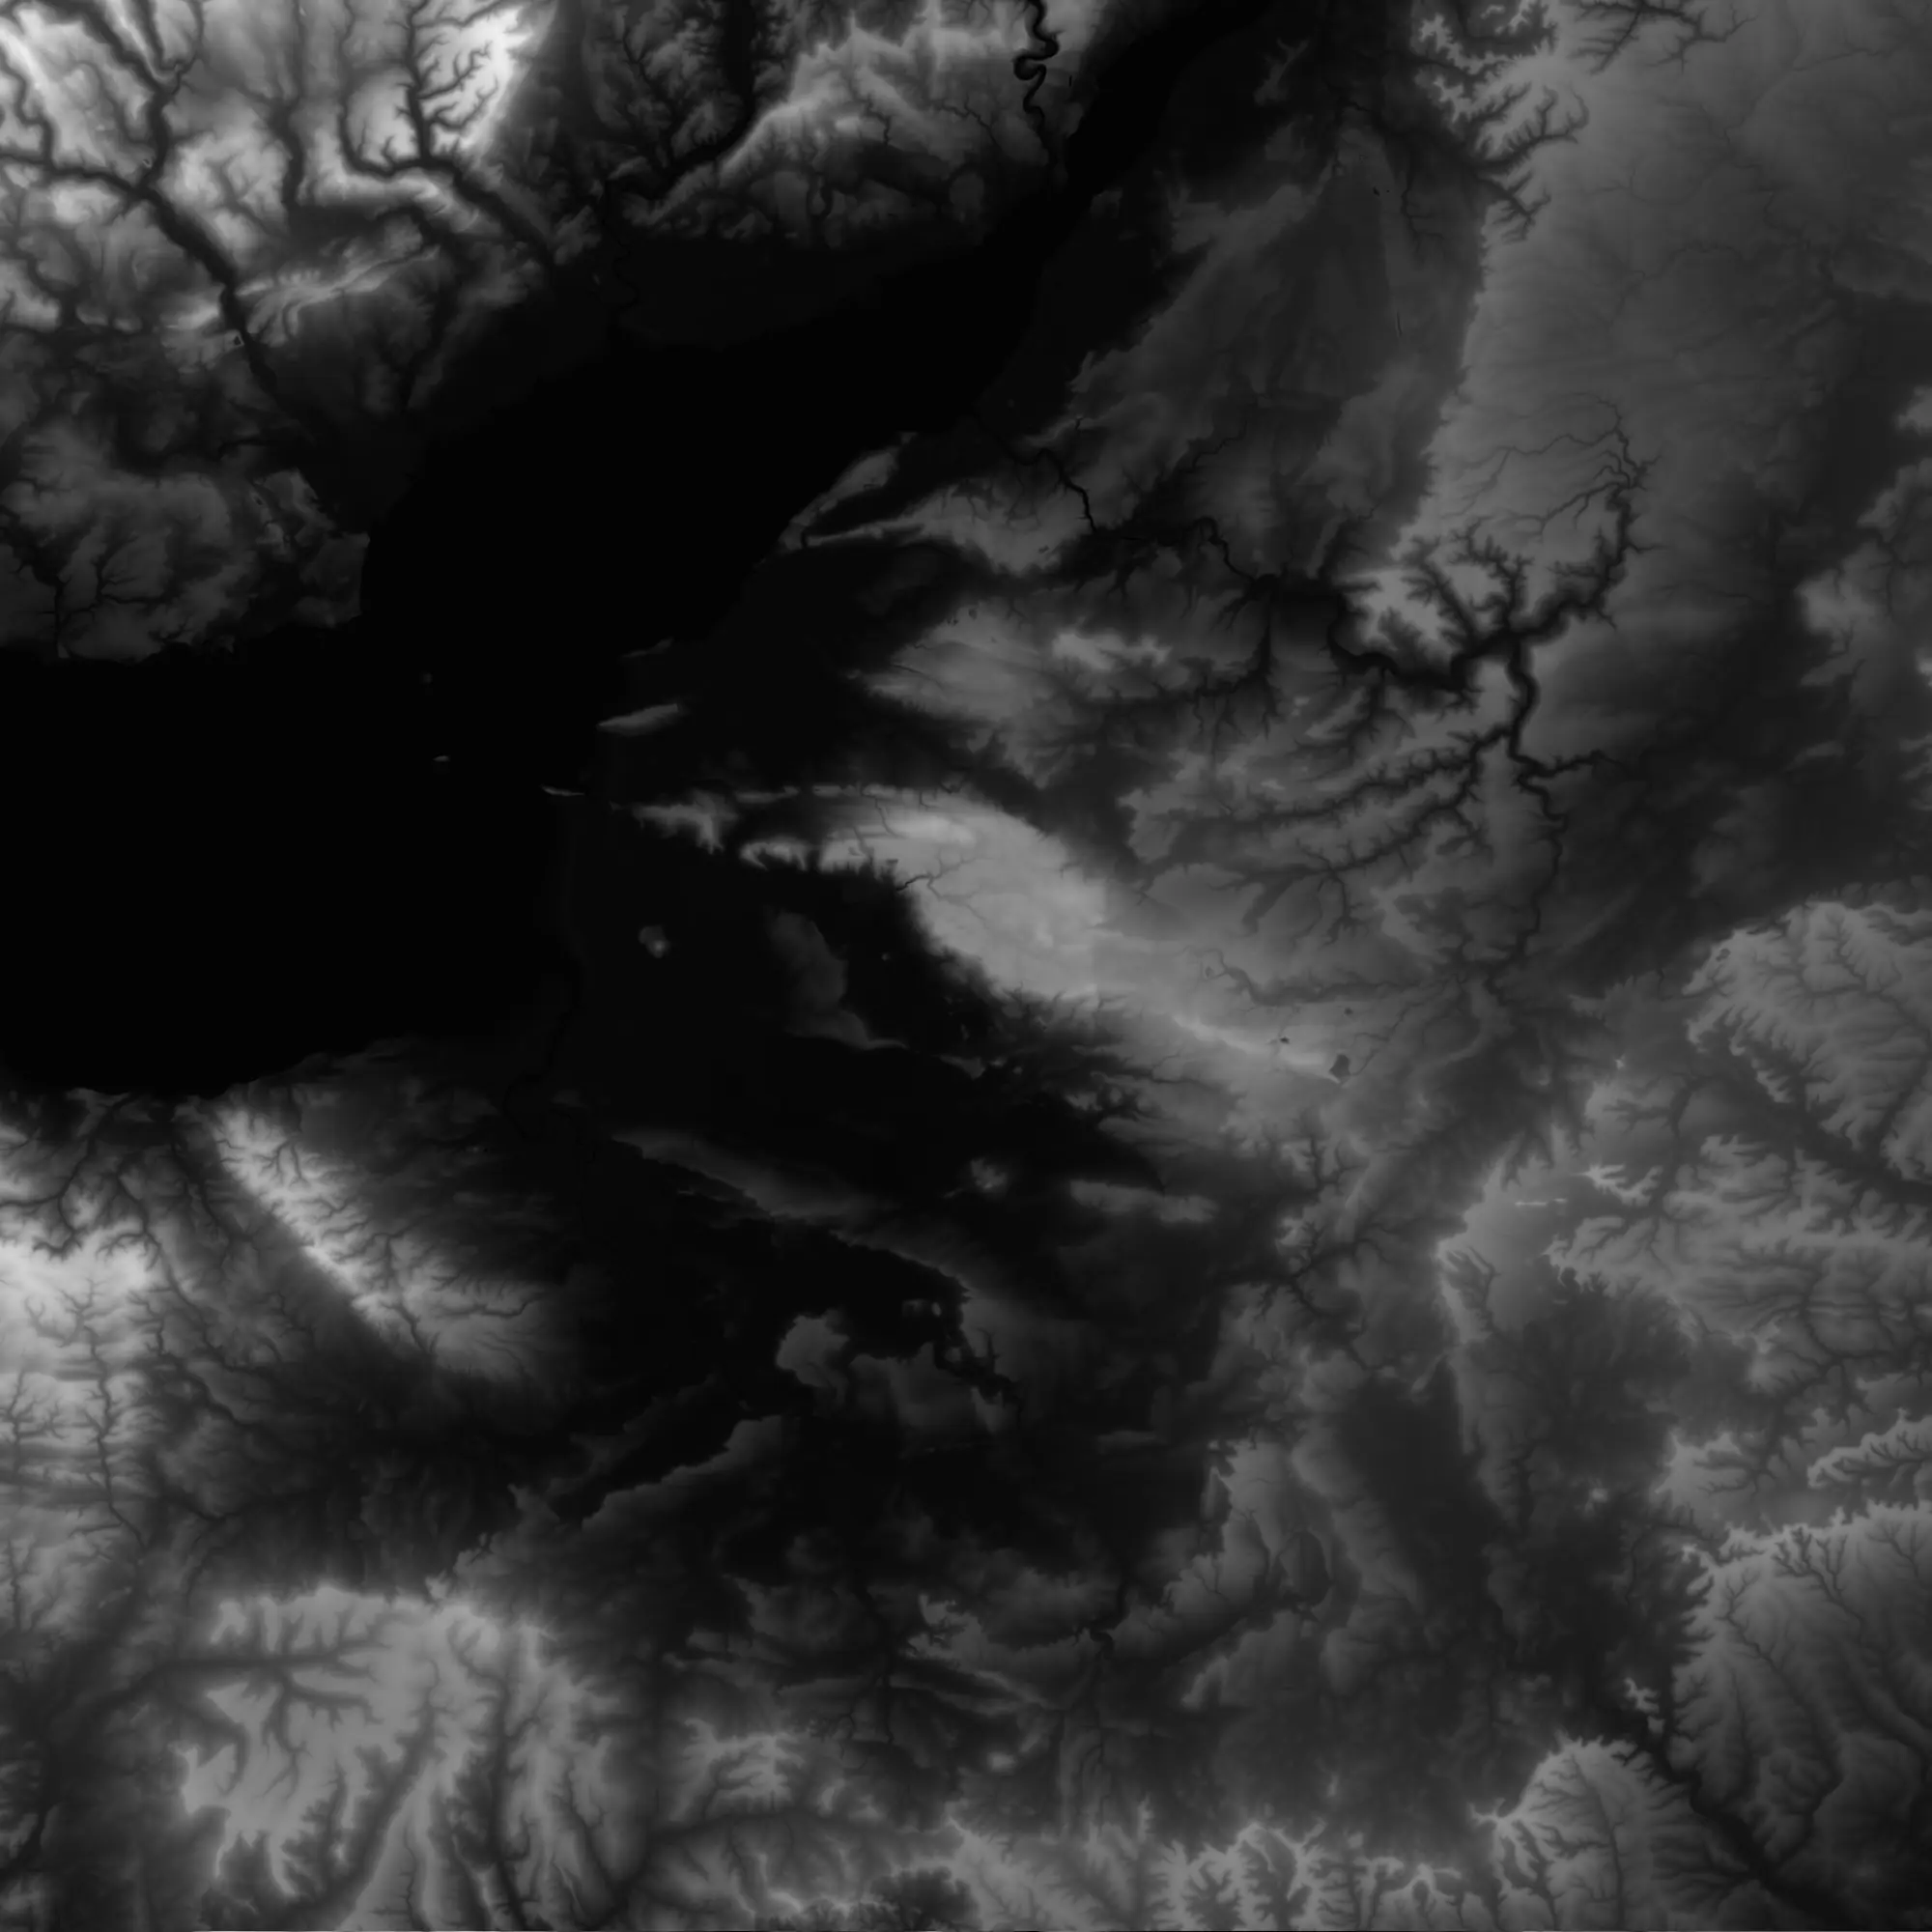
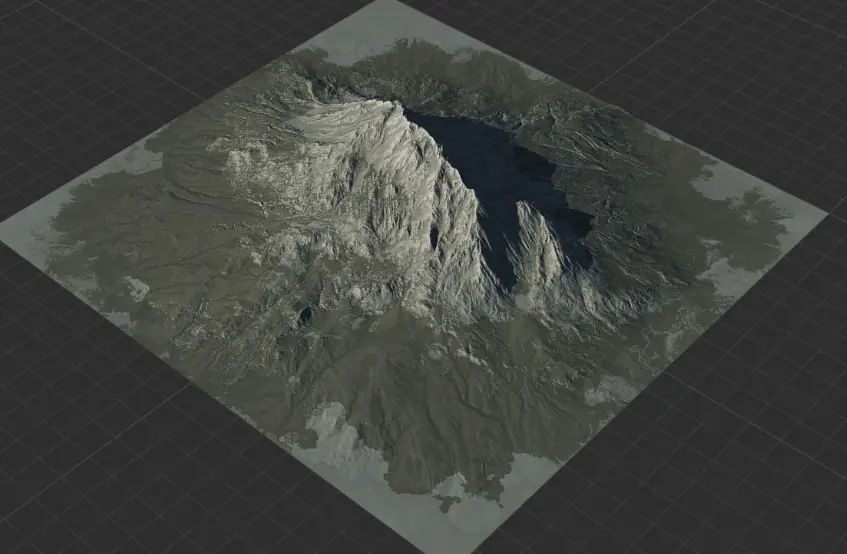
which you might've seen before from some elevation maps! The awesome thing about this is that we can take most any elevation map from online, import it into Unity, and already have a pre-made terrain. In fact, it's ridiculously easy to get real-life features, like Mount Fuji, in our game!
Terrain Toolsets
Let's play around a little with the tools before we bring out the big guns.
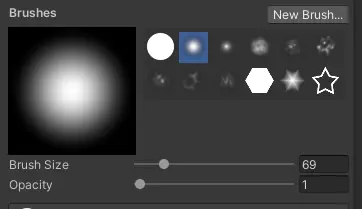
In the first tab: "Terrain Tools", we see:
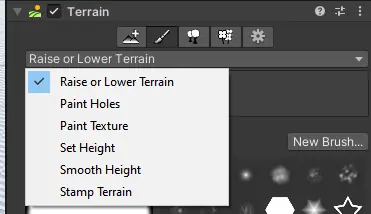
and we can now click on our terrain and paint the Bob Ross mountain.

However, we want a valley! Let's follow the instructions Unity provides and do "SHIFT-CLICK" to lower the terrain under our paint.
What's going on? ~ Only the part we edited seems to shrink. Why doesn't the floor lower?
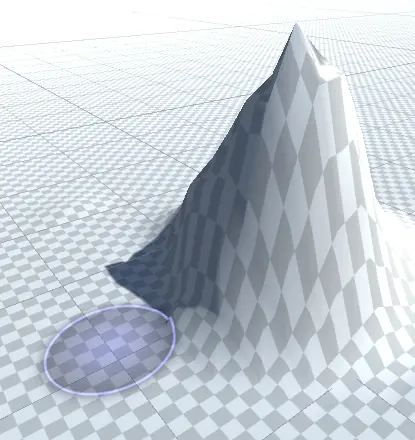
Well, think back to our "height map" technology behind our paint. Right now, pure black makes up the bottom, while our white brushes add height to the map. If we wanted depth, we would need our paint to be super-black! That can't happen, so our entire area needs to be gray, with darker regions denoting valleys, and lighter regions giving us hills.
Or, in simpler terms, we need to raise the whole terrain!
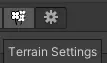
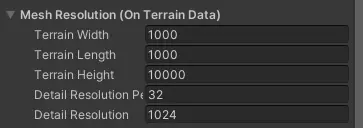
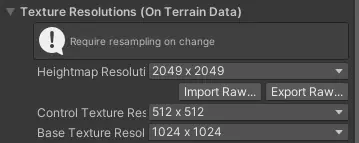
Go to Terrain Settings -> Height -> 9000! This actually isn't a lot in terms of our height map. You can see other settings here, like heightmap resolution, which you can use to make your height map way more finely detailed, so you could potentially make your player smaller enough to be on the terrain. Remember the scale of everything!
If you set height, you should notice your creations pop out! This is why you should adjust height at the start.. otherwise you might find some issues down the road when you need to create valleys (and might have to create entire new terrains!).
Now, you're more than welcome to get right to make gorgeous mountains, valleys, and other cool things, but remember the limitations! There's no such things as overhangs, so no crazy Dr. Seuss mountains, or crazy cliff edges, etc! That's the limitation of height map technology.

However, it serves as an important baseplate, which then we can use actual objects and mountain objects to create those overhangs and structures. Feel free to edit along, but more important, let's figure out how to use existing height maps!
Importing Terrains
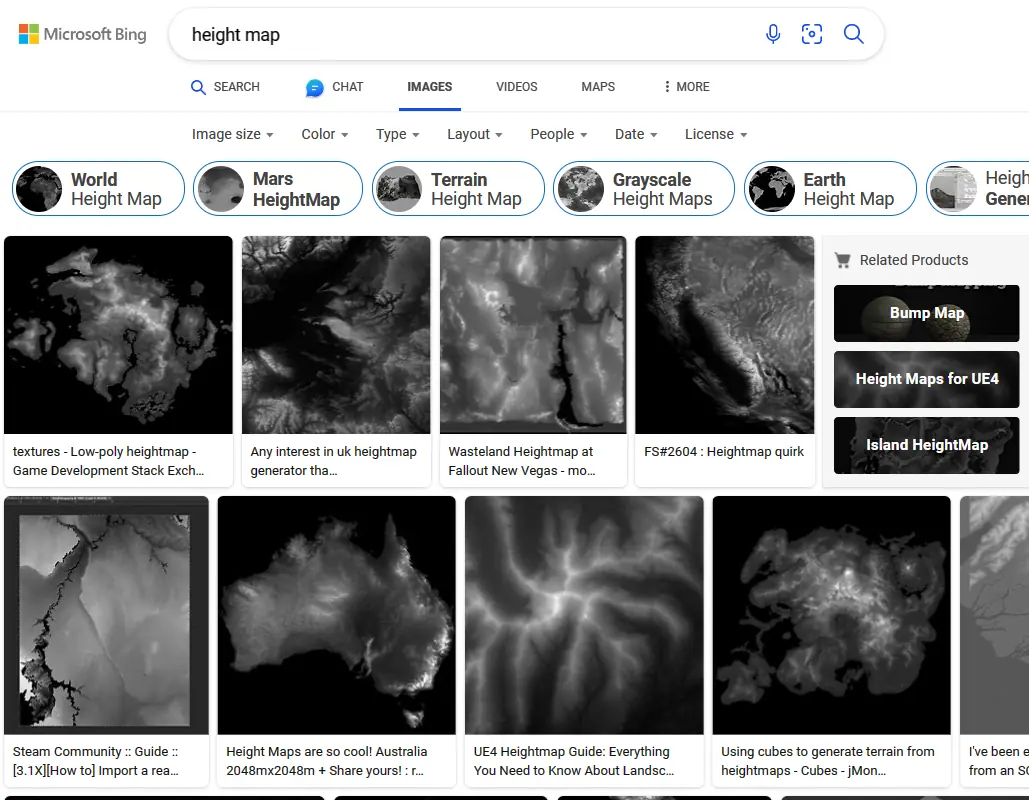
Now, let's import our own heightmap from the world wide web!
Go ahead and google "height map", "height map mountain", "height map river", etc! We're looking for these black and white images.
Now, download one. There's one last thing we need to do before putting it in our game - it needs to be a .RAW file. Don't worry, we can convert our format to .RAW.
If you want to save yourself the trouble of converting to .RAW before even seeing what your texture might look like, there are some handy browser tools that will visualize the simple PNG, JPG, TIFF, as a terrain in your browser! So, you don't have to spend time converting to get into Unity.
Here's one: https://imagetostl.com/create-3d-heightmap
And another: https://cpetry.github.io/NormalMap-Online/
If you're satisfied with what you see, or if you're feeling lucky, let's convert our photo to .RAW so Unity understands it. The easiest way, as far as I'm concerned, is to just run these five lines of Python in the same directory as your image. Make sure to "pip install Pillow".
from PIL import Image
import numpy

im = Image.open('input.tif') # Switch out 'input.tif' to your file's name!
imarray = numpy.array(im)
imarray.astype('int16').tofile("output.raw")
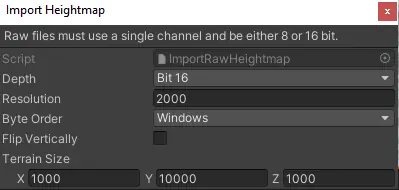
Finally, back in Terrain Settings, there's an option called "Import Raw..."
You can also "Export Raw..." if you've done something impressive with your existing heightmap.
Make sure to set the "Resolution" to the resolution of the image file you downloaded. Otherwise, some features may mess up!
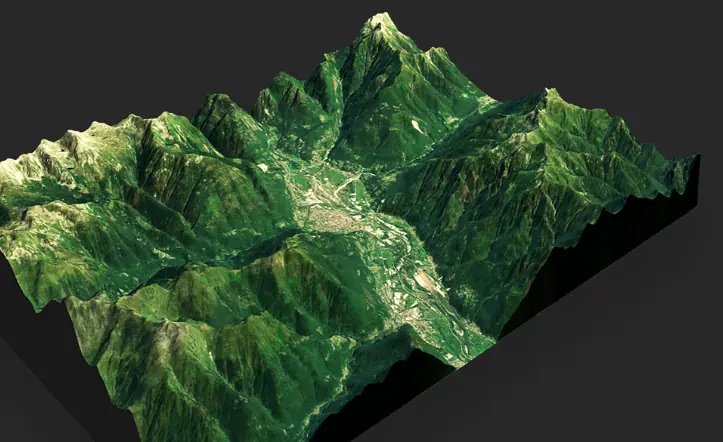
Now, we can see our height map in Unity!

(Here's a more impressive example.)
Texturing Terrains
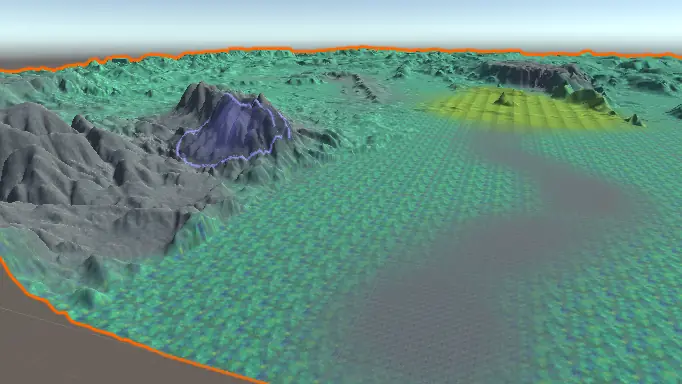
At the top of Terrain Settings, we see a material slot.
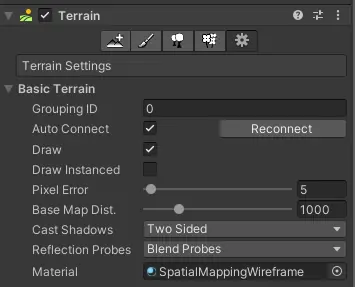
Change to SpatialMappingWireframe. This is just for fun!
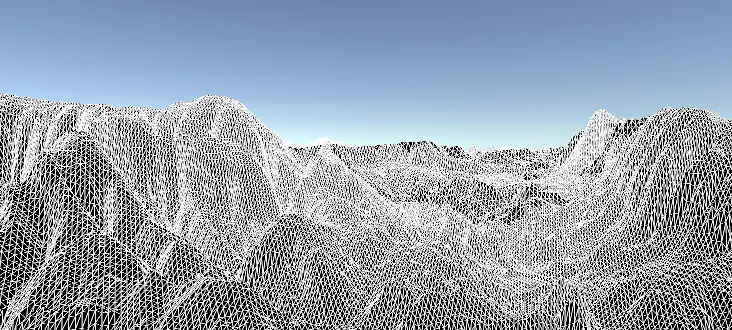
Okay, now go back to Default-Terrain-Standard. Otherwise, our paint brushes are going to have a hard time.
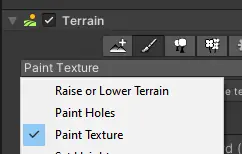
Now, let's head back to the "Terrain Tools" -> Brushes!
This time, our brush is "Paint Texture".
We will need a base layer! Choose the region’s default color or pattern: rocks, sand, desert, grass..!
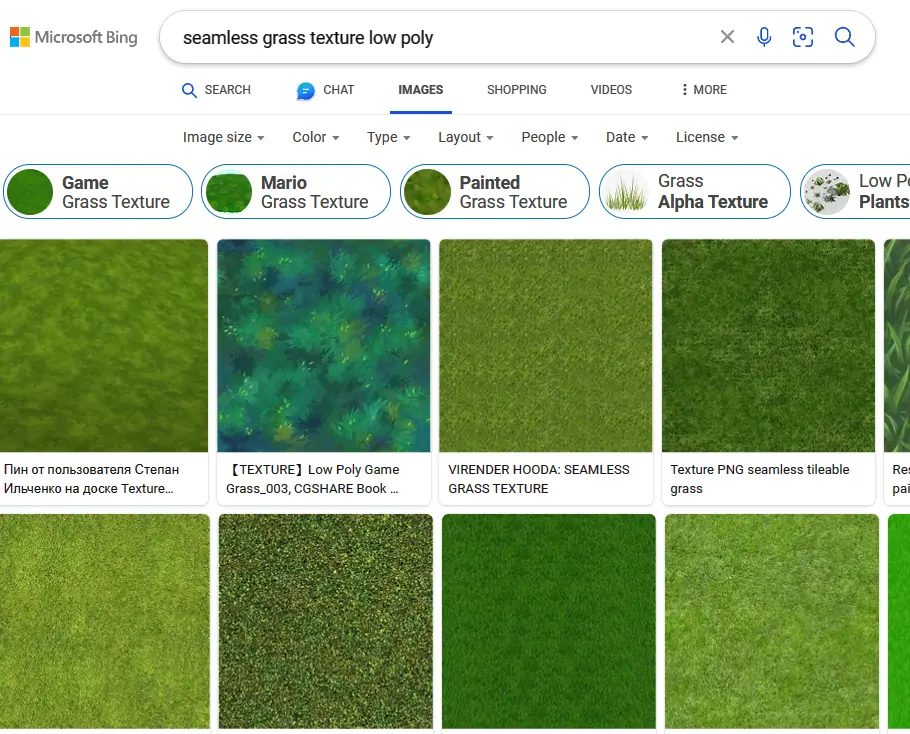
Let's head to your nearest search engine and grab a "seamless texture", or if you're hardcore, just the color you want as a picture.
Keywords like "low poly", "4k", "realistic", "game art" work especially well for finding certain textures. If you were at my [AIGameDev workshop], you probably know and can generate your own seamless game texture too!
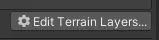
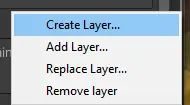
Drag your image into your Unity Assets. Now, we can "Create Layer". This will be our base layer, so choose the region’s default color or pattern: rocks, sand, desert, grass..!
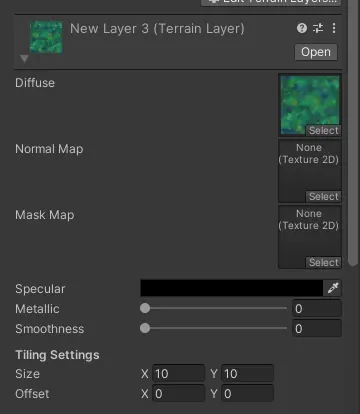
Now, everything's colored! Use the dropdown to open your texture and adjust tiling as neccessary near the bottom of the right panel.
We can rinse and repeat, by adding another layer, but this time, since we're not "at the bottom" anymore, you won't see this layer appear. This layer instead will be on our brush, which we can click on the terrain to begin coloring in. Adjust opacity and size as need be!
Yes, you can also "import textures" like we did with our height map from the internet, but make sure the texture corresponds to your height map! Afterwards, you would import it as your base layer, and adjust the tiling until it tiles as a once-over across your entire terrain.
If you really want to get into it, there are height maps and texture maps of anywhere in the world. You don't need to design the Kalahari ~ import it! Here's an awesome resource for translating satellite images and height maps into your game's terrain: https://3d-mapper.com/heightmaps-and-textures/
Note that the precision of our satellites isn't all too great, so unless you come across a drone-scanned texture or height map, your results might be pretty far off from "playable drop-in world" without tuning or adjusting a lot.
Trees
Finally, let's spawn in trees. Well, "trees". They can be anything, really. Mostly trees, although.
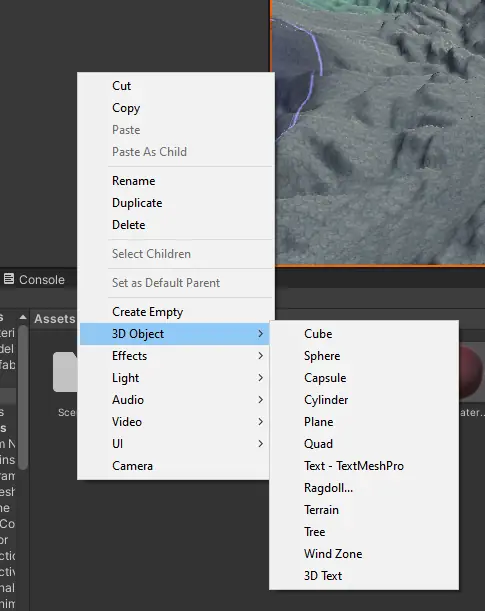
In fact, let's do random things, just to prove a point.
Go to New -> 3D Object -> Randomly Click Anything.
Yes, anything! If you're feeling really brave, go import an fbx or obj file into Unity quickly. (https://sketchfab.com/search?q=free&type=models) This will be crazy.
Alright, drag the object from your scene or your browser into "Assets" in order to make it a preset gameobject.

Now, head over to "Paint Trees" on our Terrain:
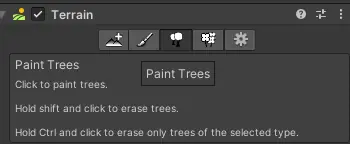
"Edit Trees" -> "Add Tree"
Now, click the layer, and paint your scene as before! This time, we're spawning in millions of prefabs with our brush.
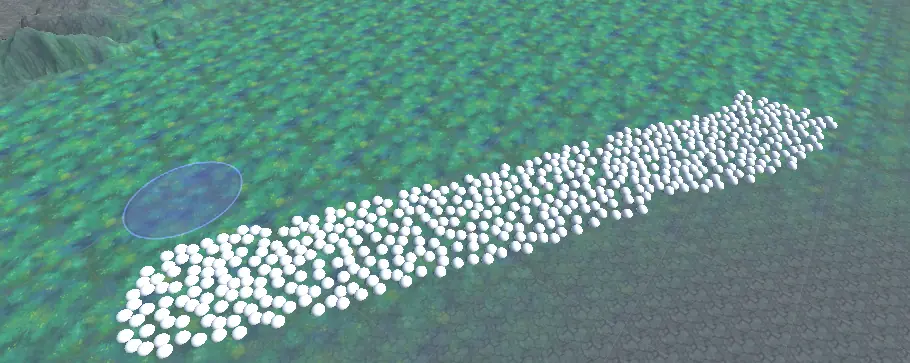
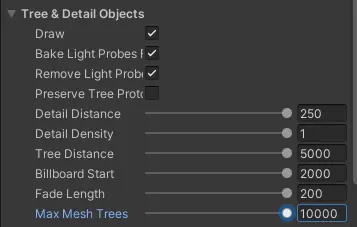
The render distance is a little low. If you can handle it, go to "Terrain Settings", "Detail Objects", and max out all the render settings.
Let's go wild. Back on the "Paint Trees" tab, click "Mass Place Trees".
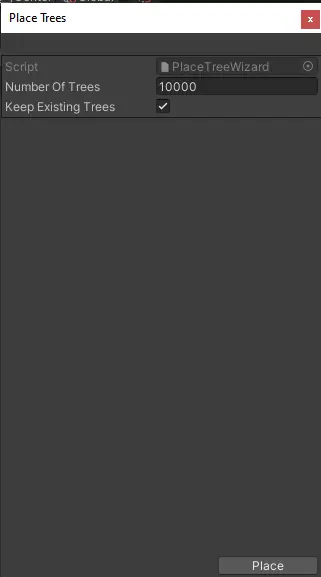
If you dared to choose anything other than a simple object for this task, watch out! Your computer will probably crash unless you turn this number way down!

"Generate!!!"
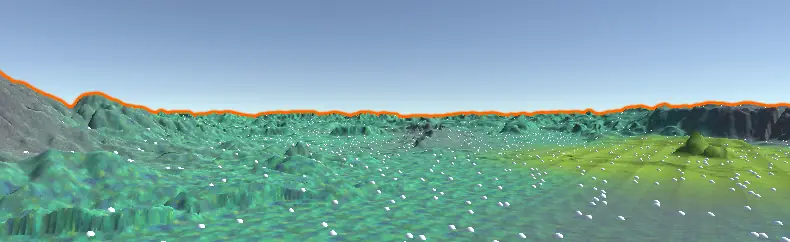
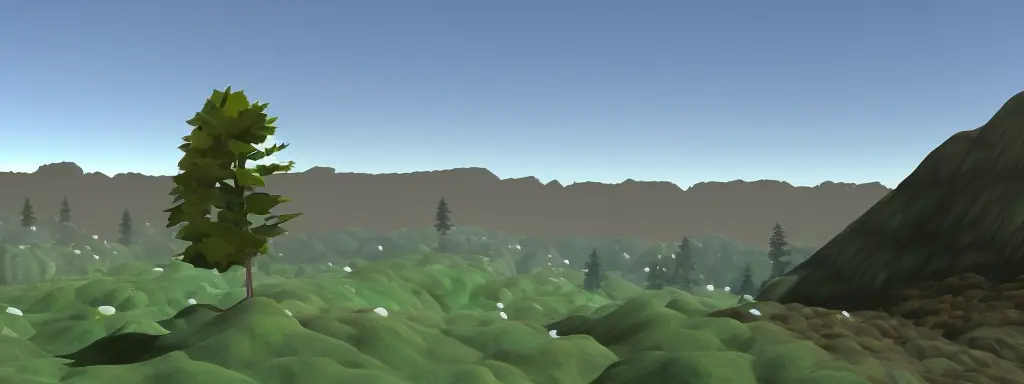
A perfect vista.
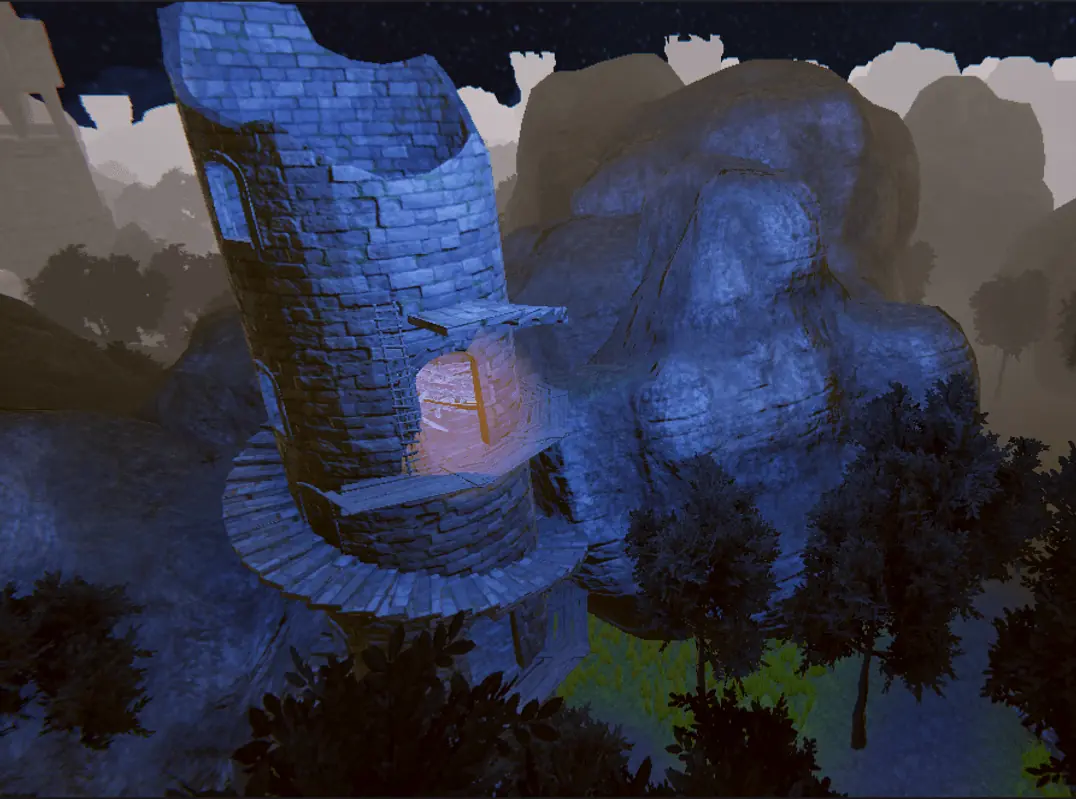
Doing this with actual trees does work better, although. Here's a screenshot from a game I made awhile back using this exact technique:
Let's not go over "Paint Details" too much. It's the exact same thing, but details are more 2D cardboard cutouts, usually meant for grass, flowers, and other simple ground things.
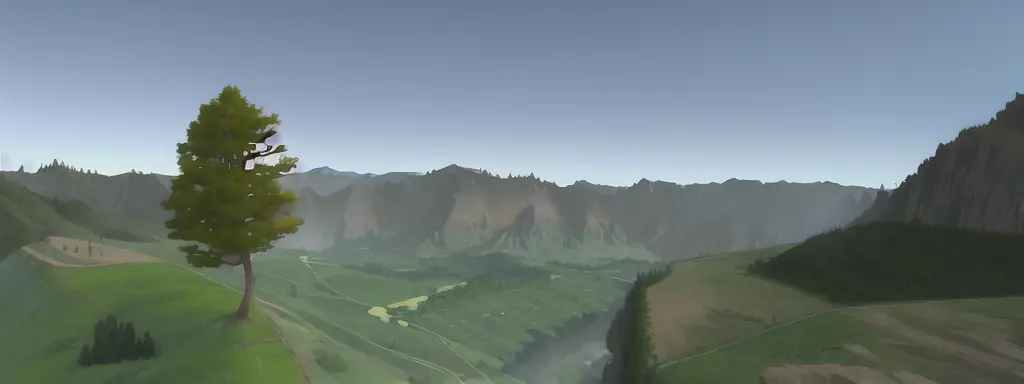
Here's another screenshot from the same game, where I used "details" to texture all the grass.
General Environment
Let's finally look at skyboxes and other light sources.
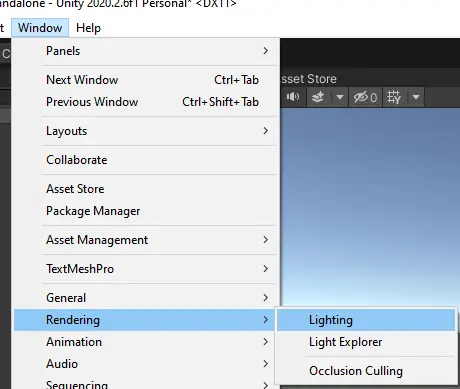
On the top, go to "Window" -> "Rendering" -> "Lighting"
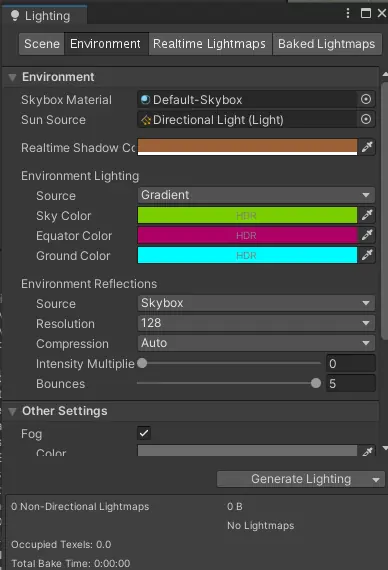
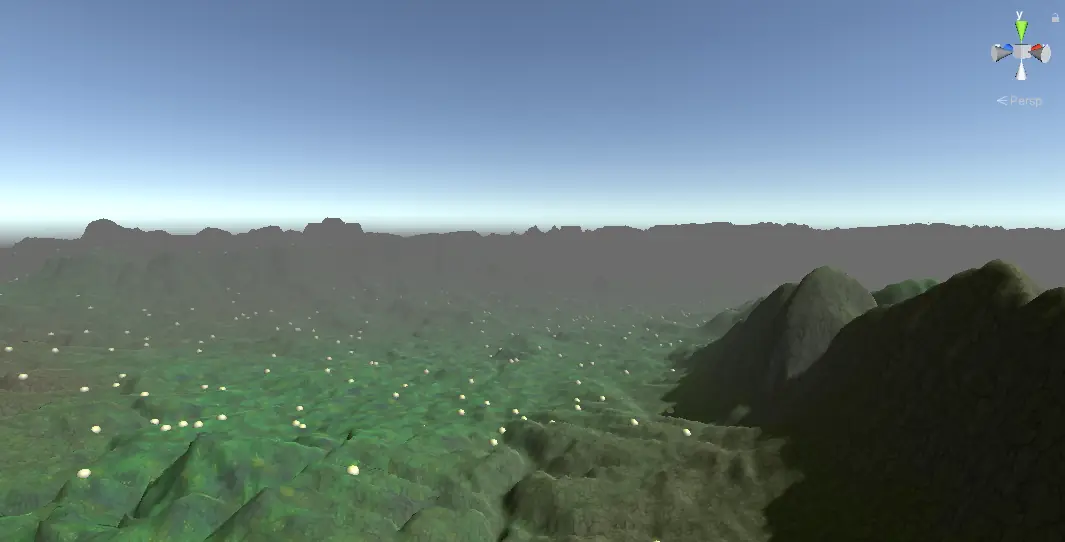
Now, on "Environment", set the values to anything and see the effect!
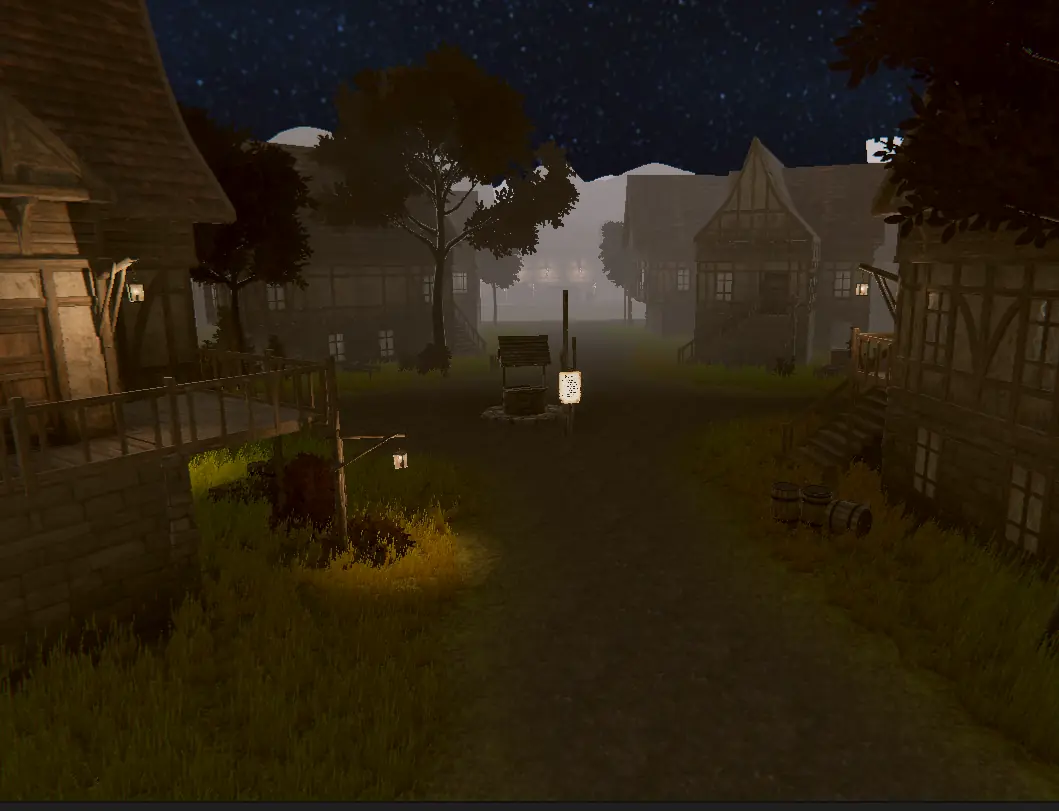
Fog really helps sell things. Here's my output:
If you want, you can import skyboxes and other assets and drop them in as easily as before.
Let me put a free tree from Sketchfab in..
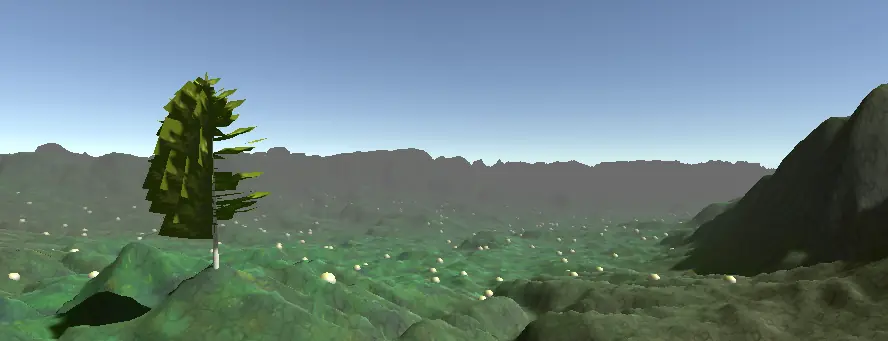
This is bad on purpose, trust me..
Okay, now let's see the same tree after I stable diffusion it.