Socket.IO + Phaser Multiplayer
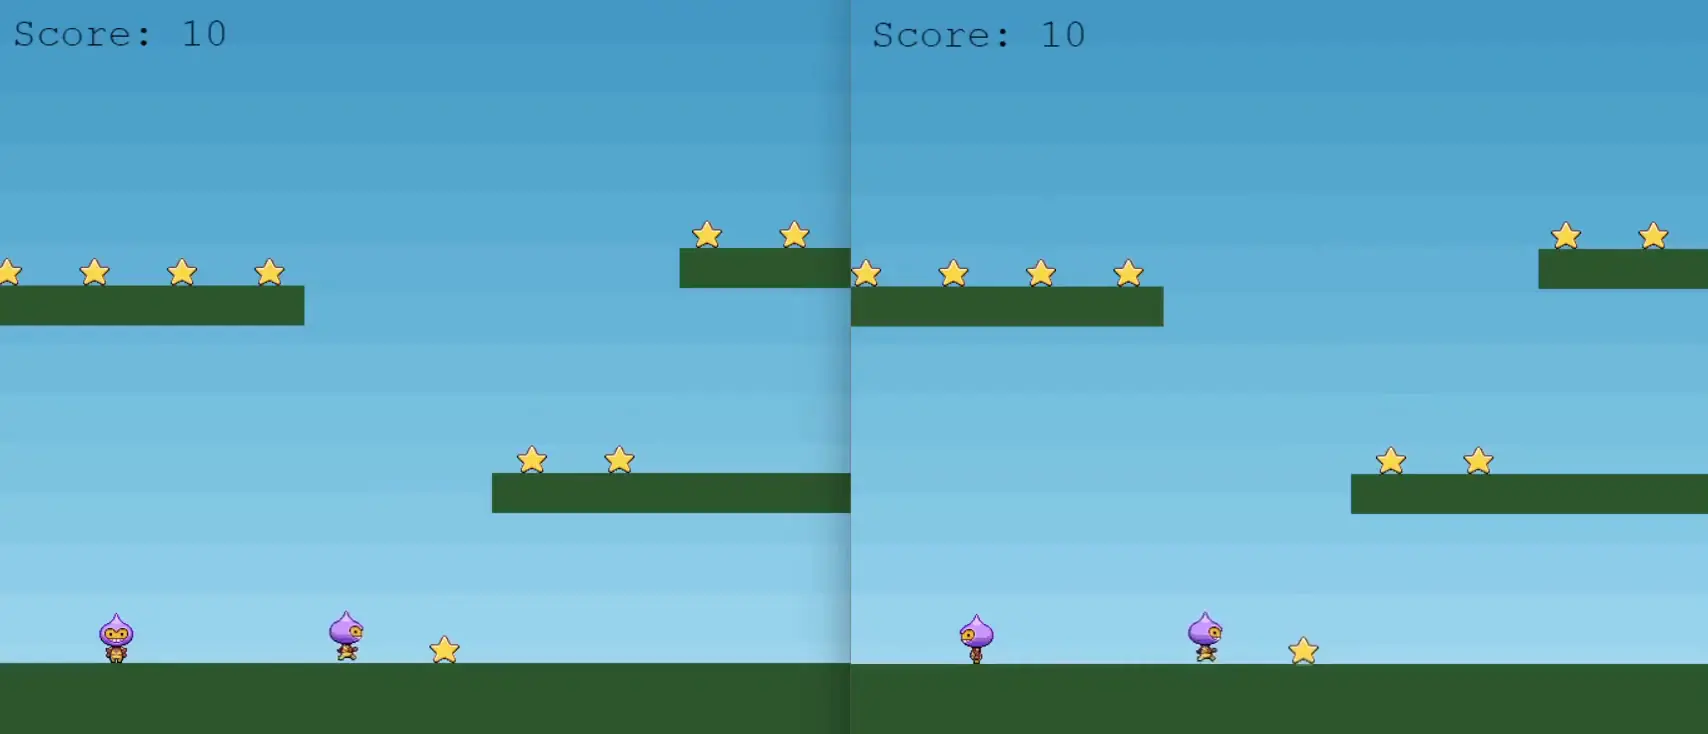
Here's a simple template for building a real-time multiplayer platformer using Phaser 3 and Socket.IO. It's based on the classic “Collect the Stars” Phaser tutorial, extended with websockets for synchronization of multiple players, plus bombs and star respawns. In this walkthrough, we'll see how the server and client coordinate to keep everyone's positions, spawns, and collisions consistent.
Overview
First, we have two parts: the client (Phaser game) and the server (Node.js + Socket.IO). The client runs in a web browser, handles rendering and input. The server handles broadcasting movement updates, spawning bombs, plus letting new players join or disconnect. Here's the high-level directory structure:
Phaser-Multiplayer/
├── assets/
│   ├── star.webp
│   ├── bomb.webp
│   ├── dude.webp
│   └── platform.webp
├── index.html        (Phaser + game logic)
├── server.js         (Node/Express + Socket.IO)
├── package.json
└── ...
We'll walk through the key code in both index.html(where the Phaser code lives) and server.js (the Socket.IO back end).
1. Phaser Client Code (index.html)
Inside our index.html, we define a typical Phaser “Collect the Stars” platformer. But we also load /socket.io/socket.io.jsand connect to the server with socket = io();. We track multiple players in a players dictionary, each with their own Phaser.Physics.Arcade.Sprite. The code snippet below is lightly trimmed for brevity:
// 1) Create the game and connect to socket
var config = {
  type: Phaser.AUTO,
  width: 800,
  height: 600,
  physics: { default: 'arcade', arcade: { gravity: { y: 300 } } },
  scene: { preload, create, update }
};
var game = new Phaser.Game(config);
var socket;
var players = {};

function create() {
  socket = io();

  // Normal Phaser setup: background, platforms, stars, bombs...
  // Then handle new player logic:
  socket.on('joined', () => {
    // Current client joined; let server know
    socket.emit('playerjoin', socket.id);
  });

  socket.on('playerjoinedReply', (msg) => {
    // A new player joined; we create them in our local scene
    // ...
  });

  // Movement updates
  socket.on('movement', (msg) => {
    // e.g. msg => [playerId, [left,right,down,up]]
    inputFunction(players[msg[0]].player, msg[1]);
  });

  // Bomb spawns, disconnections, etc...
}
Each client moves their own character with cursor keys, then emits those inputs to the server with socket.emit('movement'). Meanwhile, we also handle the “bomb” event that spawns bombs at the correct location for every client.
Movement Logic
We detect arrow keys in update() and callsocket.emit('movement', [socket.id, input]). TheninputFunction() sets velocity and animations.
function update() {
  // Check cursors
  if (cursors.left.isDown) {
    socket.emit('movement', [socket.id, [true,false,false,false]]);
  } else if (cursors.right.isDown) {
    socket.emit('movement', [socket.id, [false,true,false,false]]);
  }

  // Jump if up pressed and on ground
  if (cursors.up.isDown && player.player.body.touching.down) {
    socket.emit('movement', [socket.id, [false,false,false,true]]);
  }
}

function inputFunction(playerSprite, input) {
  // input => [left, right, down, up]
  if (input[0]) {
    playerSprite.setVelocityX(-160);
    playerSprite.anims.play('left', true);
  } else if (input[1]) {
    playerSprite.setVelocityX(160);
    playerSprite.anims.play('right', true);
  } else {
    playerSprite.setVelocityX(0);
    playerSprite.anims.play('turn');
  }
  if (input[3]) {
    playerSprite.setVelocityY(-330);
  }
}
2. Socket.IO Server (server.js)
Our server is basically an Express app serving index.htmland the assets folder, plus a Socket.IO listener. When a player connects, we emit 'joined' back to them. Then we broadcast new players, movement, bombs, etc. For example:
io.on('connection', (socket) => {
  socket.emit('joined');   // let them know they joined

  socket.on('playerjoin', (playerId) => {
    // broadcast to others that a new player joined
    socket.broadcast.emit('playerjoinedReply', playerId);
  });

  socket.on('movement', (data) => {
    // data => [playerId, [left,right,down,up]]
    io.emit('movement', data);
  });

  socket.on('bomb', (coords) => {
    // e.g. coords => [xPos, velocity]
    io.emit('bomb', coords);
  });

  socket.on('disconnect', () => {
    io.emit('disconnected', socket.id);
  });
});
That's essentially it for the server. It relays messages so all clients can keep in sync.
Deployment
You can host on Heroku or Repl.it if you want quick testing. The sample code includes a “Deploy to Heroku” button that sets up Node, Express, and Socket.IO automatically.
// Heroku deployment snippet in package.json
"scripts": {
  "start": "node server.js"
}

// Then push to Heroku or click the Deploy button in your readme.
On Repl.it, you can create a Node project, drop in your files, and run “npm install && npm start.” Repl.it will auto-expose a live URL for you to test your multiplayer game in the browser.
Tips
- Lag!!: For real-world use, you might need client-side interpolation (guess new positions locally) to handle missed packets or latency.
- Cheating: Since users control code to spawn bombs, it's easy to cheat. You'd want a server to confirm positions, collisions, or cooldowns.
- Scale: Consider not sending updates if a player isn't near you or on-screen! Employ other tricks to help manage more players.
Wrapping Up
With this template, you've got the basics for a real-time platformer that multiple players can join. Just keep your game logic in Phaser, broadcast inputs to the server, and replicate events (like bombs or new players) out to everyone. From here, you can expand to more complex features—chat, character classes, or multiple rooms. Have fun building your own little online game world!